Aprendizaje y Enseñanza de la Tecnología
Desarrollo Colaborativo de Proyectos de Aprendizaje y Enseñanza de Tecnologías en la Nube
Organization ULL-MFP-AET-2021 Github Classroom ULL-MFP-AET-2021 Campus Virtual AET Chat Chat Profesor Casiano
Table of Contents
- Aprendiendo Jekyll (p04-t0-aprender-jekyll)
Aprendiendo Jekyll (p04-t0-aprender-jekyll)
Partiendo del repl.it que creó en la práctica anterior, vamos a profundizar en el generador de web sites y blogs estáticos (Jekyll).
Siga estos pasos:
En Repl.it
- Renombre su repl.it en que trabajó en la práctica anterior p03-t0-aprender-ide como
p03-t0-aprender-ide -
Haga un fork de su repl.it en que trabajó en la práctica anterior p03-t0-aprender-ide

- Renómbrelo al nombre de esta práctica
p04-t0-aprender-jekyll - A partir de ahora trabajaremos en este replit
Objetivos
-
Modifique el projecto para que sea un web site para la asignatura que piensa desarrollar en su TFM y en sus Prácticas en Centros. En el directorio
_postsescriba varias lecciones de prueba. Algo así:~/.../aet2021/apuntes(master)]$ tree _posts _posts ├── 2020-11-03-leccion.md ├── 2020-11-05-leccion.md ├── 2020-11-10-leccion.md ├── 2020-11-12-leccion.md └── 2020-11-17-leccion.md -
Recuerde poner el front-matter en sus posts. Especifique al menos el
layouty eltitle.--- layout: post title: "Clase del Jueves 12/11/2020" --- - Defina una collection
temaspara los temas que va a impartir y ponga algún contenido - Defina una collection
tareaspara las tareas que va a asignarles a sus alumnos y añádales algún contenido - Aisle los datos en el directorio
_dataen un fichero JSON o yml de manera que el web site sea fácilmente modificable para adaptarlo a otra asignatura
An Introduction to Jekyll Collections
Jekyll Collections is the way Jekyll extends the functionality Jekyll provides for Posts to other user defined collections of documents (like lessons or task assignments in a web site course or departments or people in a school web site).
Posts is A Hard-Coded Collection
In addition to any collections you create yourself, the posts collection is hard-coded into Jekyll. It exists whether you have a _posts directory or not.
This is something to note when iterating through site.collections as you may need to filter it out.
You can see your collections with a code like this one:
<div style="border-style: solid; border-radius: 25px;">
<ol>
{%- for col in site.collections %}
<li> Colección: {{ col.label }} </li>
  <ol>
  {%-  assign firstdocs = col.docs | slice: 0,3 %}
  {%- for elem in firstdocs %}
    <li> <b>path:</b> {{ elem.path }} <b>url:</b> {{ elem.url }} </li>
  {%- endfor %}
  </ol>
{%- endfor %}
</ol>
</div>
when runned in this site produces:
- Colección: posts
- path: temas/_posts/2020-01-01-tema.md url: /tema0-introduccion/
- path: temas/_posts/2020-01-02-tema.md url: /tema1-github-education/
- path: temas/_posts/2020-01-03-tema.md url: /tema2-google-app-scripts/
- Colección: tareas
- path: _tareas/p01-t0-registrarse-en-github.md url: /tema0-introduccion/practicas/p01-t0-registrarse-en-github/
- path: _tareas/p02-t0-aprender-markdown.md url: /tema0-introduccion/practicas/p02-t0-aprender-markdown/
- path: _tareas/p02-t0-aprender-jekyll-basico.md url: /tema0-introduccion/practicas/p02-t0-aprender-jekyll-basico/
Creating a Collection
- To use a Collection you first need to define it in your
_config.yml. For example here’s a collection calledtareas:
  collections:
    - tareas
-
Create a corresponding folder (e.g.
<source>/_tareas) and add there the collection documents. Something like this:[~/.../sytws2021/apuntes(curso2021)]$ tree _tareas _tareas ├── 01p01-t0-pb-gh-campus-expert.md ├── 01p01-t1-iaas.md ├── ... └── 12p12-tfa-user-experience.md 0 directories, 17 files
Adding Documents to a Collection
-
Here is an example of how you would add a new tarea to the collection
tareasset above. You add a file to the_tareasfolder. Something like./_tareas/10p10-t3-jekyll-search.md. Follows an example of content:--- name: p10-t3-jekyll-search visible: true date: 2020-11-30 my_order: 4 --- # Task to Add Search to Your Jekyll Web Site Blah, blah, blah ... description of the task the student must do
Controlling the Output
-
Regardless of whether front matter exists or not, Jekyll will write to the destination directory (e.g.
_site) only ifoutput: truehas been set in the collection’s metadatacollections: tareas: output: true temas: output: true - Front matter is processed if the front matter exists, and everything after the front matter is pushed into the document’s
contentattribute - If no front matter is provided, Jekyll will consider it to be a static file and the contents will not undergo further processing. A markdown file with no front matter will not be transformed onto a HTML file
- If front matter is provided, Jekyll will process the file contents into the expected output. I.e. the markdown will be converted to HTML
- Therefore, be sure you add front matter to the documents in both collections
tareasandtemas
Collections and Time
Except for documents in hard-coded default collection posts, all documents in collections you create, are accessible via Liquid irrespective of their assigned date, if any, and therefore renderable.
Documents are attempted to be written to disk only if the concerned collection metadata has output: true. Additionally, future-dated documents are only written if site.future is also true. Therefore, you can hide a document by setting the date to a future date.
More fine-grained control over documents being written to disk can be exercised by setting published: false (true by default) in the document’s front matter.
Making a Page to Show the Links to the Collection Documents
-
Now you can iterate over
site.tareason another page, let’s say filetareas.mdand output a link to eachtarea.{%- for practica in site.tareas %} {%- if practica.visible %} {{ practica.name | slice: 0, 2 }}. <a href="{{ practica.url }}">Práctica {{ practica.name }}</a> {%- endif %} {%- endfor %}We can link to the generated page using the
practica.urlattribute -
Similar to posts, the body of the document can be accessed using the
contentvariable. Here is another example:{% for task in site.tareas %} <h2>{{ task.name }} - {{ task.date }}</h2> <p>{{ task.content | markdownify }}</p> {% endfor %}- The
markdownifyfilter converts a Markdown-formatted string into HTML. The name sounds wrong to me: It will be better to call it htmlify
- The
Sorting Collections
- By default, two documents in a collection are sorted by their
dateattribute when both of them have thedatekey in their front matter. - A date is specified in the format
YYYY-MM-DD HH:MM:SS +/-TTTT; hours, minutes, seconds, and timezone offset are optional. - Documents can be sorted based on a front matter key by setting a
sort_bymetadata to the front matter key string.-
For example, to sort the collection
tareasbased on keymy_order, the configuration would be:collections: tareas: sort_by: my_order
-
Collection Attributes
See Liquid Attributes section in the Jekyll tutorial about Collections
Collections are also available under site.collections, with the metadata
you specified in your _config.yml (if present) and the following information:
| Variable | Description |
|---|---|
|
|
The name of your collection, e.g. |
|
|
An array of documents. |
|
|
An array of static files in the collection. |
|
|
The path to the collection's source directory, relative to the site source. |
|
|
The full path to the collections's source directory. |
|
|
Whether the collection's documents will be output as individual files. |
Documents Attributes
In addition to any front matter provided in the document’s corresponding file, each document has the following attributes:
| Variable | Description |
|---|---|
|
|
The (unrendered) content of the document. If no front matter is provided, Jekyll will not generate the file in your collection. If front matter is used, then this is all the contents of the file after the terminating `---` of the front matter. |
|
|
The rendered output of the document, based on the
|
|
|
The full path to the document's source file. |
|
|
The path to the document's source file relative to the site source. |
|
|
The URL of the rendered collection. The file is only written to the destination when the collection to which it belongs has |
|
|
The name of the document's collection. |
|
|
The date of the document's collection. |
Maths
\(\LaTeX\) is a free professional typesetting, that it is the standard for scientific documents.
To use the \(\LaTeX\) language in your posts, temas or tareas collections or in any document, you can make use
of MathJax and insert in your layout file _layouts/default.yml a line like this one:
<!-- Mathjax Support  -->
<!-- MathJax version 3 -->
<script type="text/javascript">
window.MathJax = {
tex: {
    packages: ['base', 'ams']
},
loader: {
    load: ['ui/menu', '[tex]/ams']
}
};
</script>

<script type="text/javascript" id="MathJax-script" async
src="https://cdn.jsdelivr.net/npm/mathjax@3/es5/tex-chtml.js">
</script>
Now you can use LaTex formulas everywhere in your website:
You can insert some formula $$f(x) = \int_{-\infty}^\infty \hat f(\xi)\,e^{2 \pi i \xi x} \,d\xi$$ in the middle of a sentence.

You can also put large formulas in their own paragraph.

$$f(x) = \int_{-\infty}^\infty \hat f(\xi)\,e^{2 \pi i \xi x} \,d\xi$$

$$mean = \frac{\displaystyle\sum_{i=1}^{n} x_{i}}{n}$$
You can insert some formula \(f(x) = \int_{-\infty}^\infty \hat f(\xi)\,e^{2 \pi i \xi x} \,d\xi\) in the middle of a sentence.
You can also put large formulas in their own paragraph.
\[f(x) = \int_{-\infty}^\infty \hat f(\xi)\,e^{2 \pi i \xi x} \,d\xi\] \[mean = \frac{\displaystyle\sum_{i=1}^{n} x_{i}}{n}\]See the References section in this notes about \LaTeX
Data. Converting yml to json
- js-yaml
npx js-yaml data.yml > data.jsonconverts from .yml to .json
La Entrega
En tu repl.it, el remoto git sigue apuntando al repo que creaste en su momento:
GNU bash, version 4.4.20(1)-release (x86_64-pc-linux-gnu)
$ git remote -v
origin  https://github.com/ULL-MFP-AET-2021/JekyllBlog-mrguezl (fetch)
origin  https://github.com/ULL-MFP-AET-2021/JekyllBlog-mrguezl (push)
Configuramos nuestra identidad git en la máquina virtual de repl.it con estos comandos:
git config  user.email mariarguezleon@gmail.com
git config  user.name mrguezl
Nos situamos en el directorio site:
$ cd site
Y creamos un nuevo repo local con el comando git init:
$ git init .
Initialized empty Git repository in /home/runner/p04-t0-aprender-jekyll-no-aceptado/site/.git/
En el directorio site editamos un fichero con nombre .gitignore. En este fichero listamos aquellos ficheros y directorios que queremos que no estén bajo el control de versiones. Algo similar a esto:
$ cat .gitignore
_site
.DS_Store
.jekyll
.jekyll-metadata
.bundle
.sass-cache
.jekyll-cache*
Le indicamos a git que ponga todos los ficheros bajo el control de versiones del nuevo repo con git add .:
$ git add .
El punto . es un sinónimo de directorio actual.
Esto añadirá todos los cambios ocurridos en todos los ficheros en el directorio actual salvo los que fueron especificados en el .gitignore.
A continuación confirmamos los cambios en el repo con un git commit
$ git commit -am 'creating a repo inside site and linking it with the remote assignment repo'
...
create mode 100644 style.scss
Ahora hacemos que este repo local tenga como remoto el repo GitHub de entrega de la tarea p4-t0-aprender-jekyll
$ git remote add origin https://github.com/ULL-MFP-AET-2021/p04-t0-aprender-jekyll-mrguezl.git
Cuando hagamos el push git preguntará por el usuario y la clave en el remoto.
Para evitar que este preguntando a menudo por el usuario y la password
de GitHub podemos decirle que los almacene con este comando:
git config credential.helper store
Empujamos los contenidos del directorio site en el repo de entrega de la práctica con git push -u --force origin master:main
$ git push -u --force origin master:main
Username for 'https://github.com': mrguezl
Password for 'https://mrguezl@github.com':
Counting objects: 54, done.
Delta compression using up to 4 threads.
Compressing objects: 100% (50/50), done.
Writing objects: 100% (54/54), 1.17 MiB | 2.05 MiB/s, done.
Total 54 (delta 2), reused 0 (delta 0)
remote: Resolving deltas: 100% (2/2), done.
To https://github.com/ULL-MFP-AET-2021/p04-t0-aprender-jekyll-mrguezl.git
 + c948d4f...c1fe9a0 master -> main (forced update)
Branch 'master' set up to track remote branch 'main' from 'origin'.
$
- La opción
--forceengit pushes un poco peligrosa. Fuerza a que, cualquiera que fuera la historia previa del repo remoto nuestros cambios se impongan y sean llevados al mismo. master:mainde esta forma le indicamos que nuestra rama localmasterdebe ser copiada en la rama del epo remoto con nombremain- La opción
-uo--set-upstreamhace en este caso que se vincule la rama empujadamasterdel repo local con la ramamainremotoorigin. Los subsiguientesgit pushno tendrán que especificar las ramas implicadas
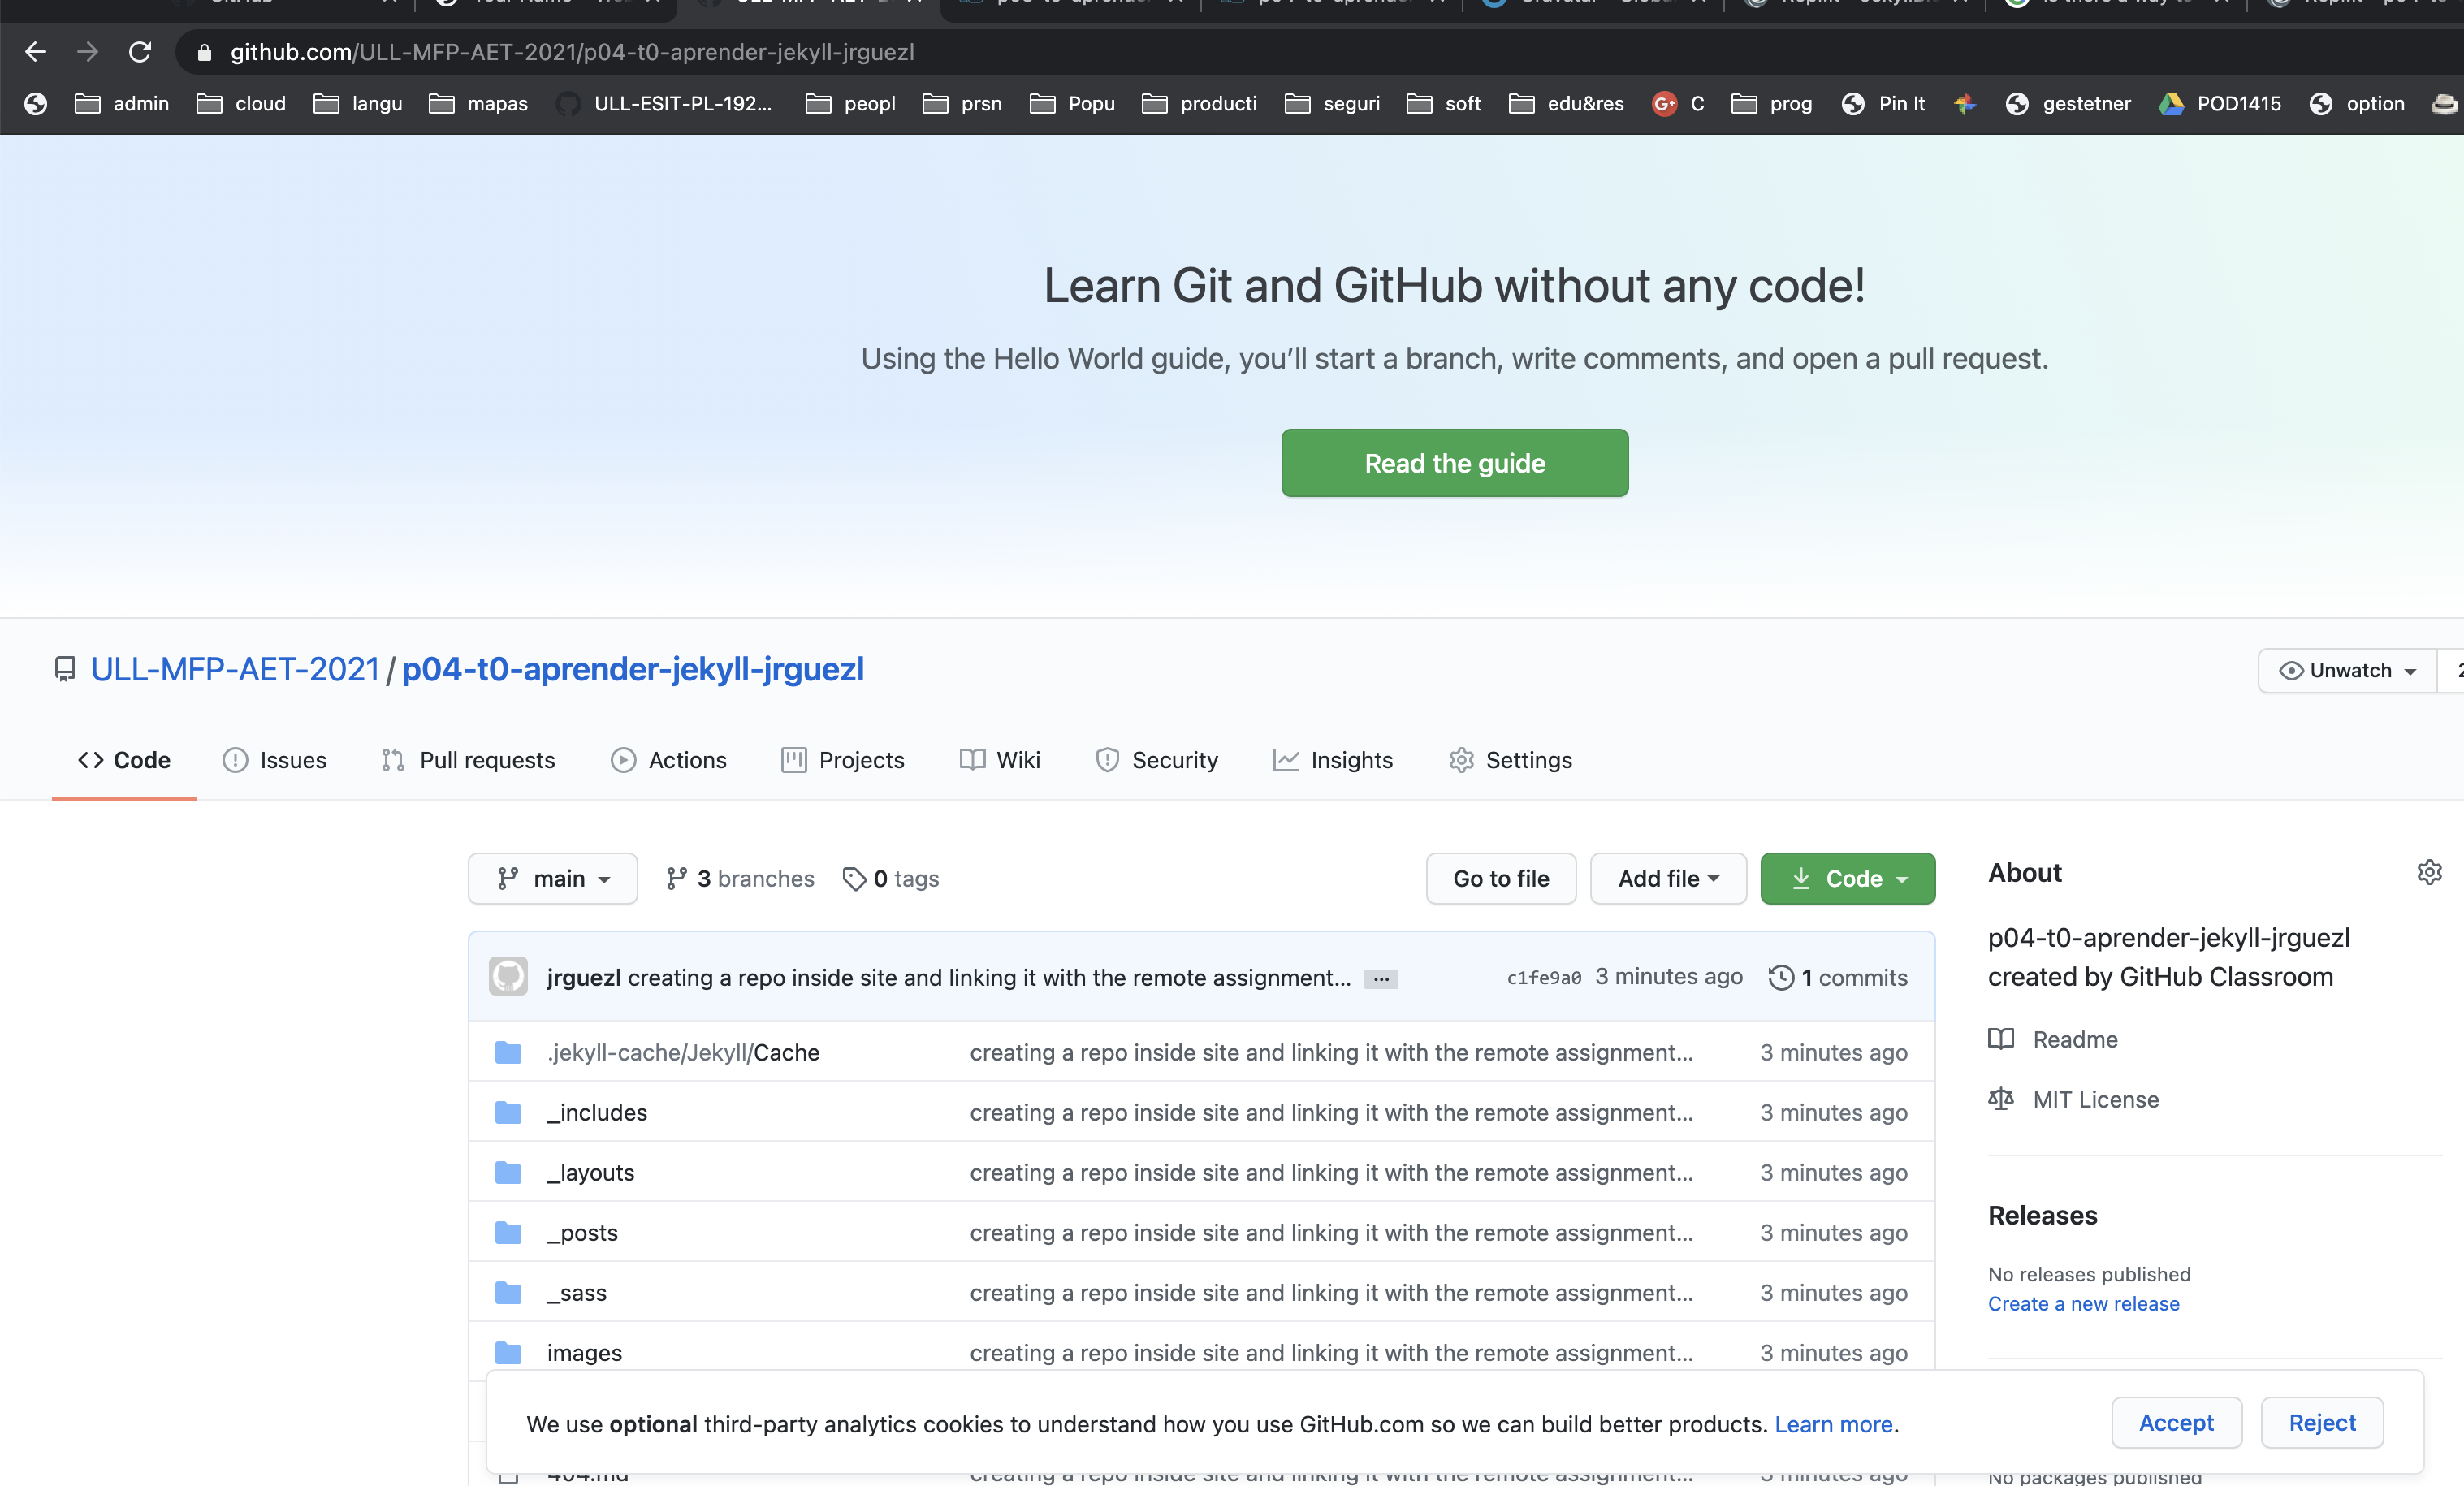
Si nos vamos al repo de la entrega en github deberíamos ver algo como esto:
A continuación activamos GitHub Pages del Repo (elegimos la rama main y la raíz del proyecto)
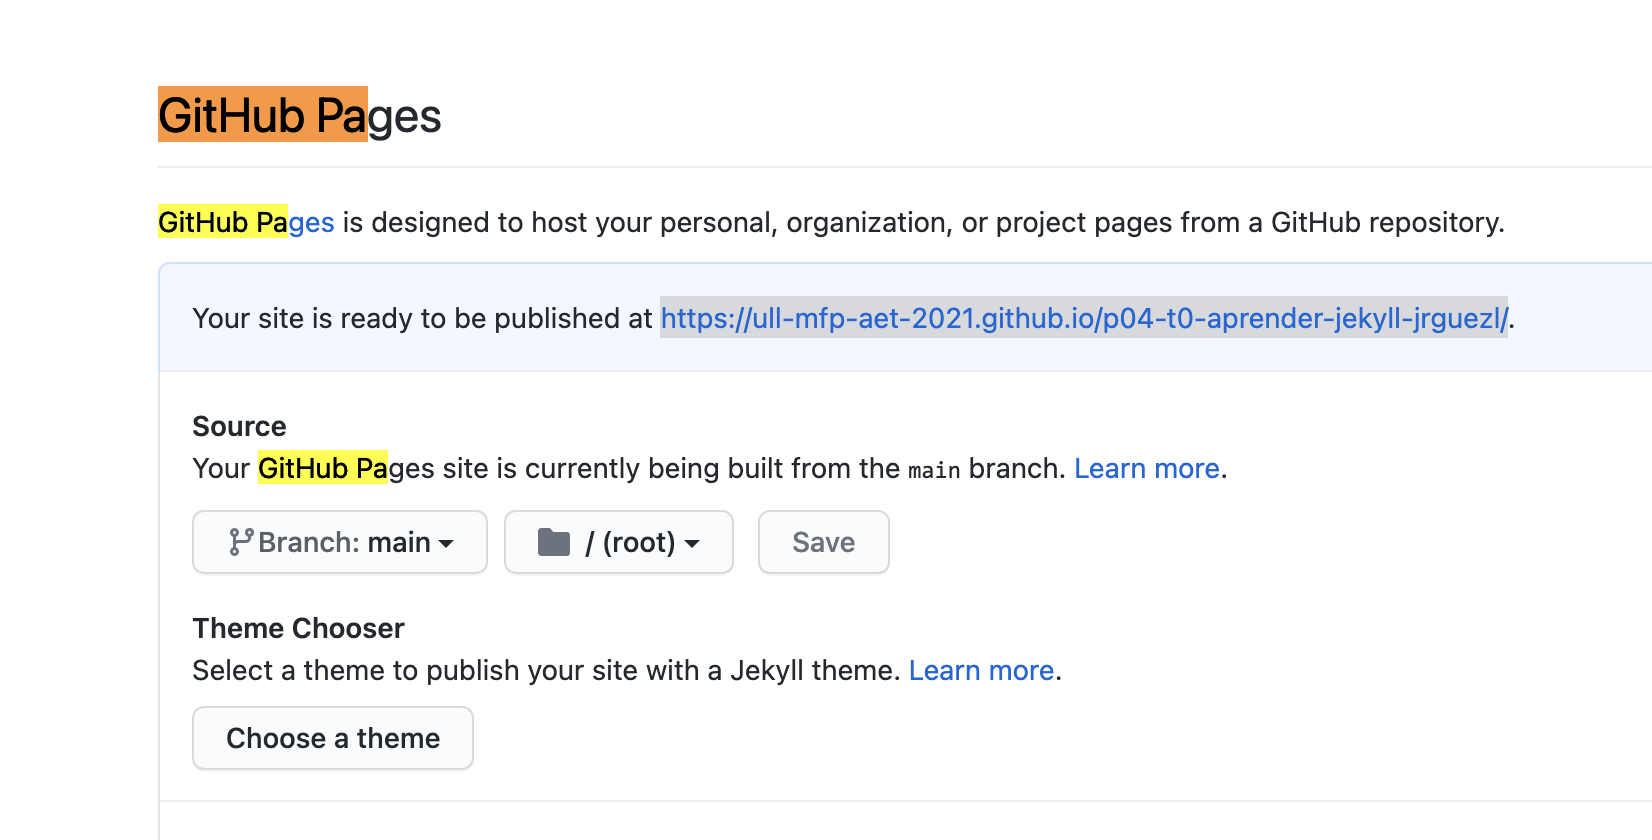
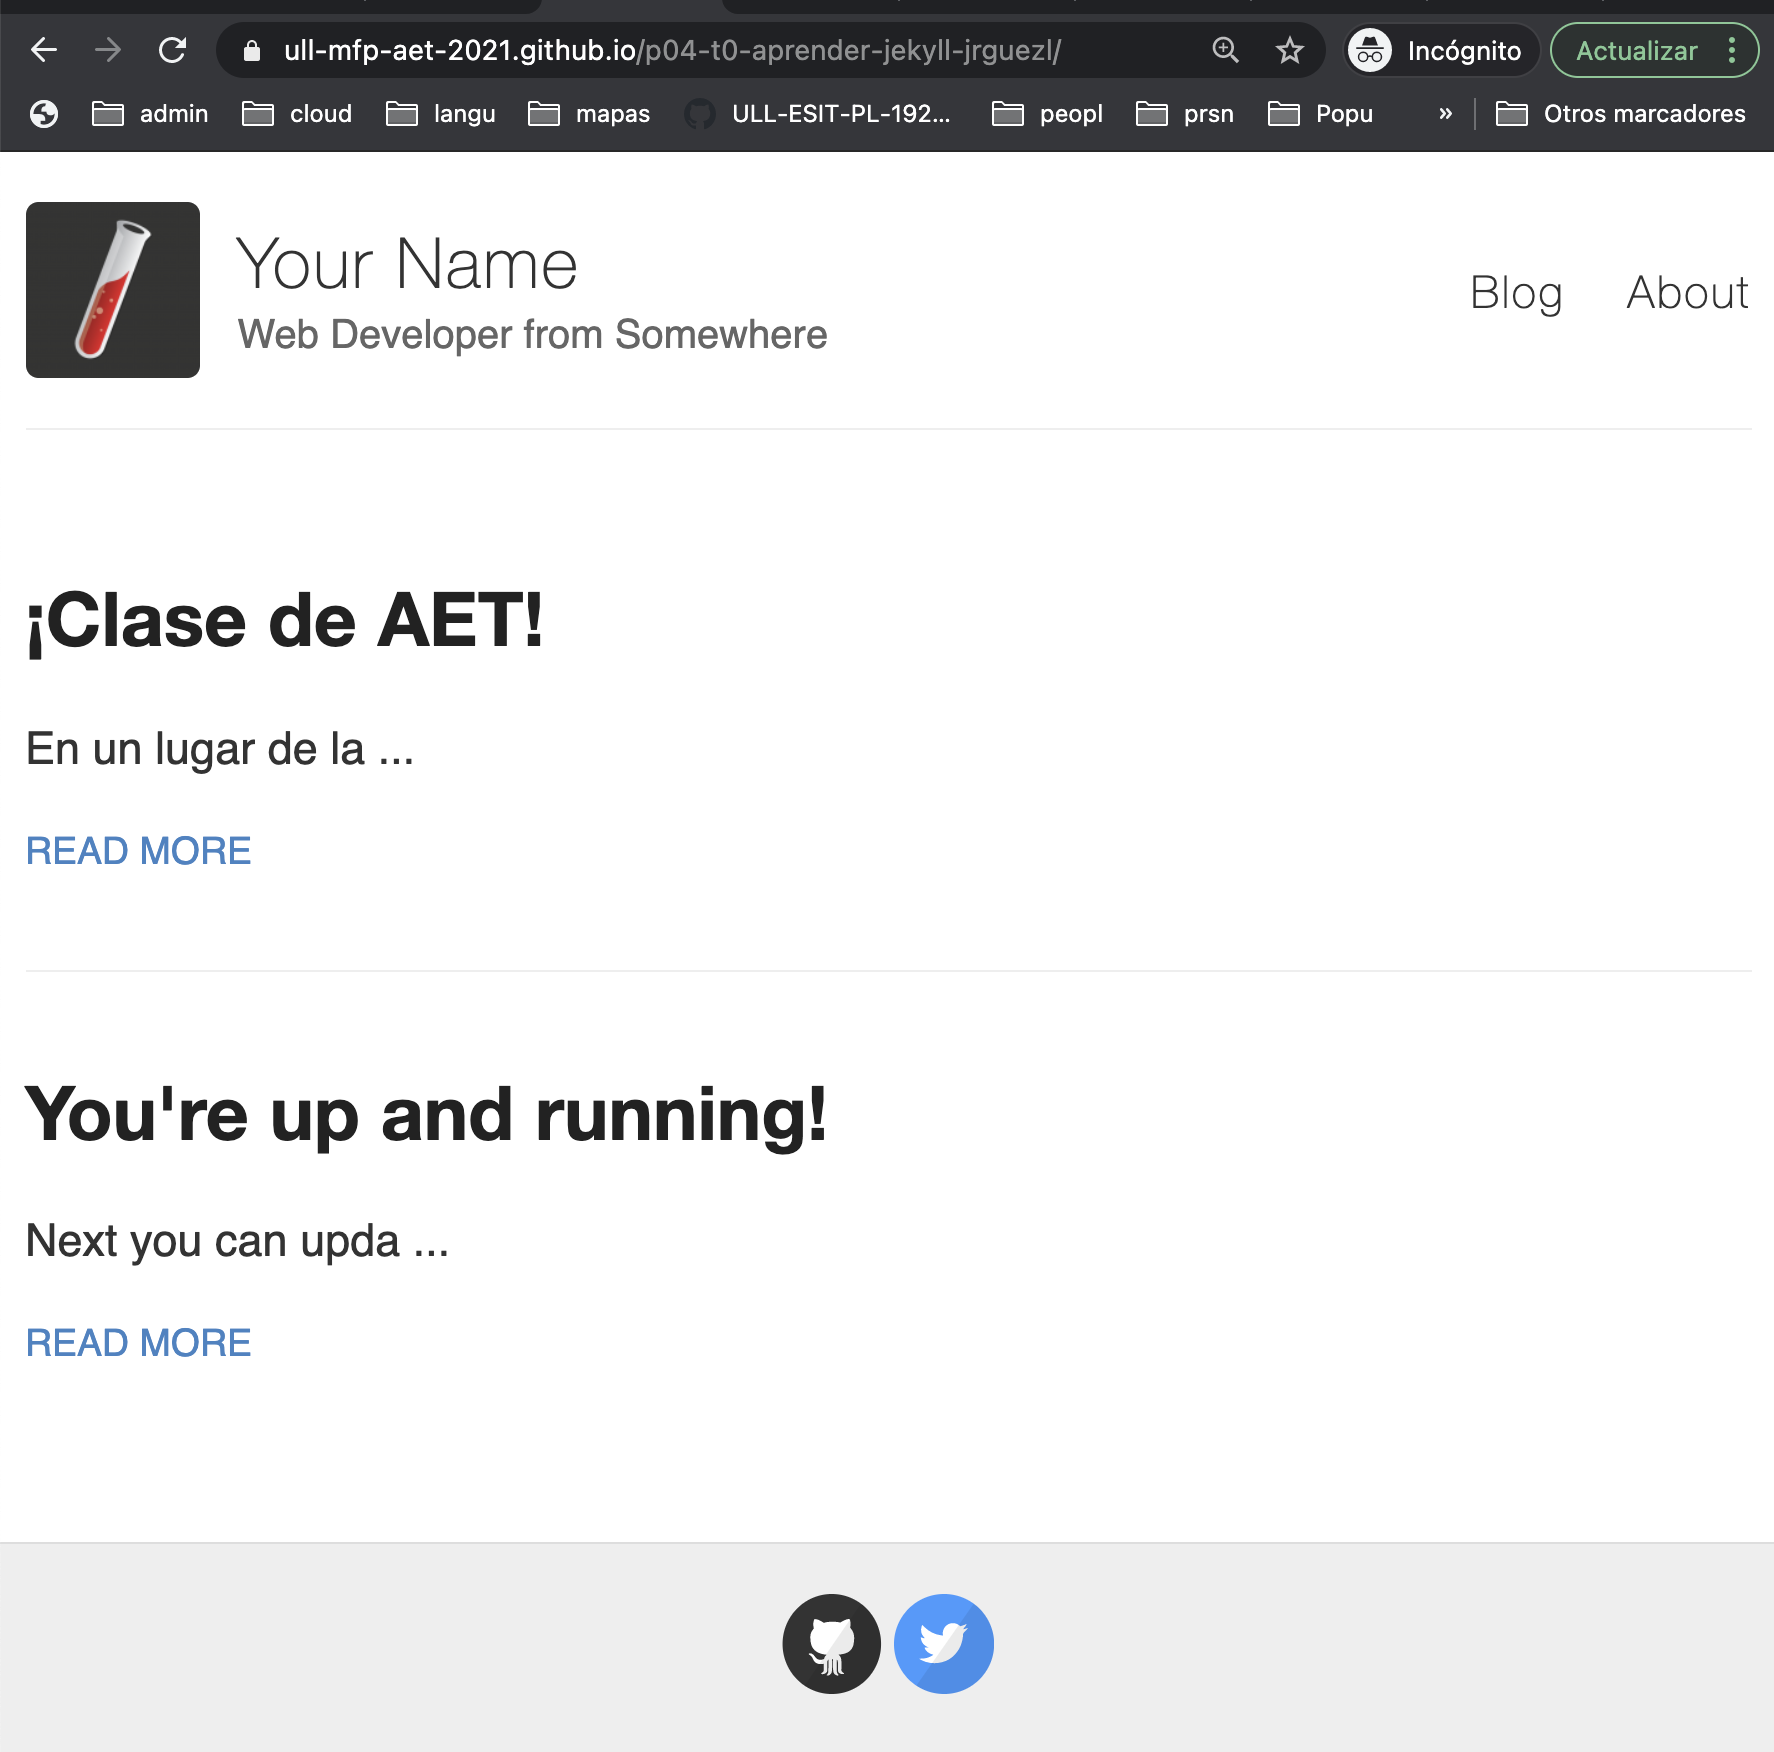
Compruebe el buen funcionamiento. ¿Se ve mal? ¿funcionan bien los enlaces? Si algo va mal en este punto, recuerde abrir la cóonsola en las herramientas del desarrollador para ver los mensajes de error (En la página de despliegue, botón derecho -> inspect).
Recordemos poner el enlace al despliegue en la sección de descripción del repo
En el README.md:
Añadimos un enlace al replit
Recuerde compartir el replit con el profesor (crguezl) y poner un enlace al mismo en el README.md
Referencias
See the section References in this notebook
GitHub Pages
- Recuerda que GitHub provee un servicio de Hosting de páginas estáticas (GitHub Pages) que se sirven mediante Jekyll.
Jekyll Docs
Site Structure
- Directory Structure
- Categories
-
Having Different types of posts: Jekyll multiple post types
 - work
   -- _posts
    --- portfolio01.md  # The portfolio01.md belongs to the work category.
    --- portfolio02.md  #   /work/portfolio02
 - blog
   -- _posts
     --- blogitem01.md # The blogitem01.md belongs to the blog category.
     --- blogitem02.md # /blog/blogitem02
Liquid
- Liquid at Jekyll
- Liquid Sandbox: You can test your Liquid code here. This sandbox only loads the default Liquid methods
- Liquid at Shopify
Variables, Includes, Layouts, Permalinks
Themes
Pagination
Tutorials
- Tutorials
- Video Walkthroughs
- Navigation
- Order of interpretation
- Custom 404 Page
- Convert an HTML site to Jekyll
- Using Jekyll with Bundler
- Setting up your GitHub Pages site locally with Jekyll
Repl.it and Jekyll
Maths
- MathJax v3 in Jekyll by Arthur O’Dwyer
- How I blog about math: an update on KaTeX with Jekyll by GUILLAUME ENDIGNOUX
Cheat Sheets
- Jekyll cheat Sheet at CloudCannon
CV Examples
- Jekyll CV BiagioBrattoli Example
- YouTube Video: How to use minimal Jekyll theme Thunder - Tutorial 10
- Blog: Webjeda
- The GitHub organization academicpages has several repos including one with a beautiful CV template at academicpages/sb-personal. You can see it deployed at https://academicpages.github.io/
Cloud Editors: Prose, StackEdit …
- stackedit.io StackEdit is an editor in the cloud: it can sync your files with Google Drive, Dropbox and GitHub.
- Prose: an Editor for GitHub Jekyll Pages
- BLOGGING LIKE A DEV: JEKYLL + GITHUB + PROSE.IO by Allan Denot 11 Jan 2015
- Using Prose